Get Started!
Introduction
This quick start is intended to help you get started with using iTwin Platform visualization components. In this walk-through, you will be introduced to the iTwin Viewer, a customizable viewer that offers basic tooling and widgets for viewing an infrastructure digital twin and can be further extended with iTwin.js extensions.
By the end of this walk-through, you will be able to build and run a web application for viewing an infrastructure digital twin (iTwin).
Info
Skill level:
Basic
Duration:
30 minutes
1. Set up your environment
Before you start this walk-through, you will need to download and install the following software on your machine.
1.1 Required materials
This tool provides the backend JavaScript runtime necessary for your computer to read and render code appropriately. It also allows you to run NPM command line (required for every iTwin project).
This is the source code control system for the iTwin repositories.
1.2 Suggested materials
This software can help you to develop and debug frontend JavaScript problems.
This is our recommended editor and debugger tool for developing iTwin.js applications. It is free, open source and includes a GUI for working with GIT.
2. Get the code
The iTwin Viewer is available on GitHub at link. To download the iTwin Viewer code:
- Open Terminal or a Command Prompt.
- In the terminal, run the following command:
npx create-react-app your-app-name --template @itwin/web-viewer --scripts-version @bentley/react-scripts- This will generate a new application based on the iTwin Viewer React component.
- By default, the viewer will be stored in a directory called your-app-name
npx create-react-app your-app-name --template @itwin/web-viewer --scripts-version @bentley/react-scripts
3. Register an Application
You will need to register an application to use the iTwin Platform APIs. You can use the Register button to automatically create your first single page application (SPA). This will allow you to use the iTwin Viewer with the iModel you will generate next.
Once generated, you will be shown a few lines of code under the button. You will need to copy them in the .env file from the application folder downloaded in the previous step.
- IMJS_AUTH_CLIENT_CLIENT_ID - this is the unique identifier for your application. Displayed on application details page as Client ID.
- IMJS_AUTH_CLIENT_REDIRECT_URI - specifies where users are redirected after they have chosen whether or not to authenticate your app. Displayed on application details page as one of Redirect URIs.
- IMJS_AUTH_CLIENT_LOGOUT_URI - specifies where users can be returned to after logging out. Displayed on application details page as one of Post logout redirect URIs.
- IMJS_AUTH_CLIENT_SCOPES - list of accesses granted to the application. Displayed on application details page as Scopes.
Or optionally: Register and configure your application manually following instructions in Register and modify an Application tutorial.
Register a basic SPA App for this tutorial
Requires you to sign in. Will automatically generate a Single page application (SPA) that is required to complete this tutorial. You will be able to manage your SPA from your My apps page.
4. Create an iModel
To view your engineering design content, you will first need to synchronize your design files into an iModel. An iModel is a distributed relational database holding information about an infrastructure asset defined in a common schema. To learn more, click here.
iModel creation process
To create a Test iTwin and iModel:
- Go to https://developer.bentley.com
- Click the Sign In button and sign-in using your Bentley account credentials
- If you have not already registered, click Register now and complete the registration process.
- Click on your user icon and navigate to the My iTwins page
- Click the Create button
- Give your iModel a name
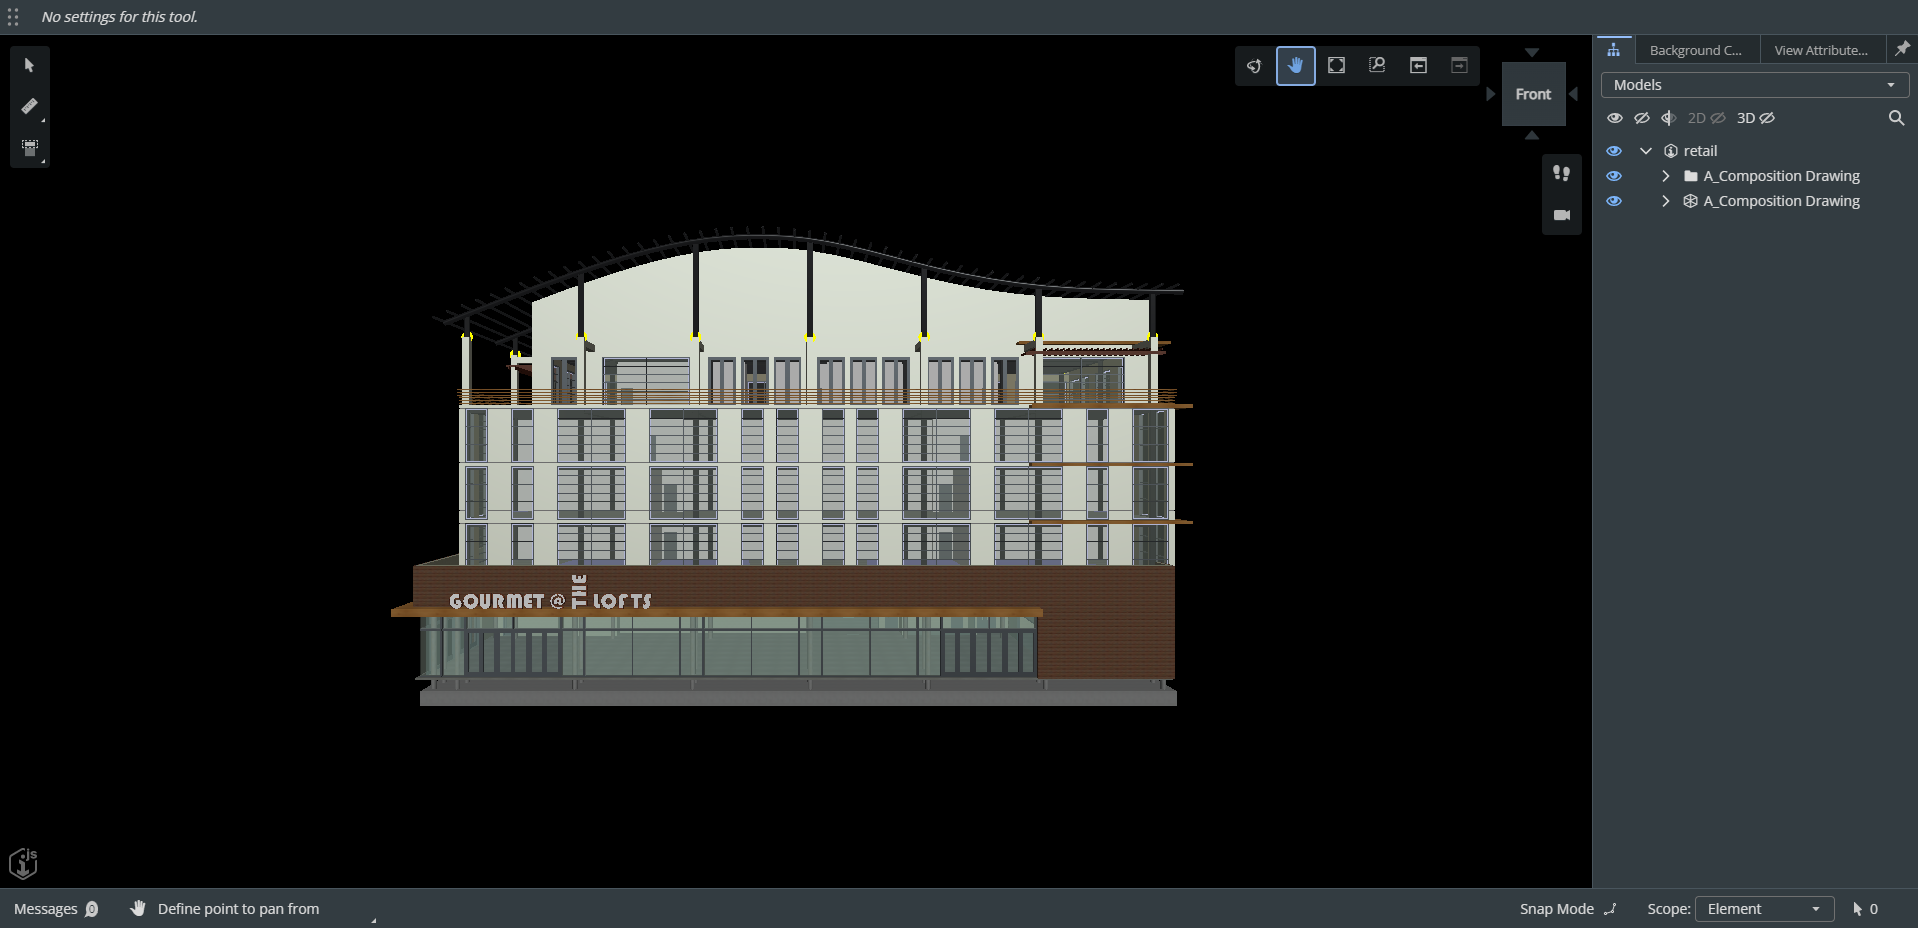
- Select Create iModel from Bentley Sample and choose the Retail Building Sample template
- If you have your own engineering design files, you can select Empty and then choose the File Synchronization tile from iModel Home. From there you will be able to synchronize your design files.
- Click the Save button and wait until your iModel is created
5. Run the code
After you have successfully downloaded the code, you are ready to run the sample. To run the sample:
- Launch Visual Studio Code
- Click File > Open Folder and open the your-app-name directory that was created in the previous step.
Next, you will need to configure the application with the client and iModel information that you created in the previous steps or any other SPA app and iModel from your account.
- Open the .env file
- Enter the appropriate values for:
IMJS_AUTH_CLIENT_CLIENT_ID: Enter the ClientID for the client you registered during the Register a Client stepIMJS_AUTH_CLIENT_REDIRECT_URI: Enter the Redirect URI for the client you registered during the Register a Client stepIMJS_AUTH_CLIENT_LOGOUT_URI: Enter the Post Logout Redirect URI for the client you registered during the Register a Client stepIMJS_AUTH_CLIENT_SCOPES: Enter the Scopes for the client you registered during the Register a Client stepIMJS_ITWIN_ID: Enter the iTwinId that was generated during the Create an iModel stepIMJS_IMODEL_ID: Enter the iModelID that was generated during the Create an iModel step
- Open a terminal from the menu bar View > Terminal.
- In the terminal window, enter
npm start. This will serve the application with live reloading.
Congratulations, running npm start should launch a web browser and display your iModel in the iTwin Viewer Starter App. If you use your own file, this may take a few minutes to load depending on the file size you used.
If the iTwin Viewer does not automatically open, you can open a browser and load the URL http://localhost:3000.
Continue learning
Congratulations for the completion of your first viewer app! You’ve now know a lot on the subject, but there’s still possibilities to learn more to unleash the platform capabilities.