Introduction
This quick start is intended to help you create a CombinePhysicalModelsV2 transformation.
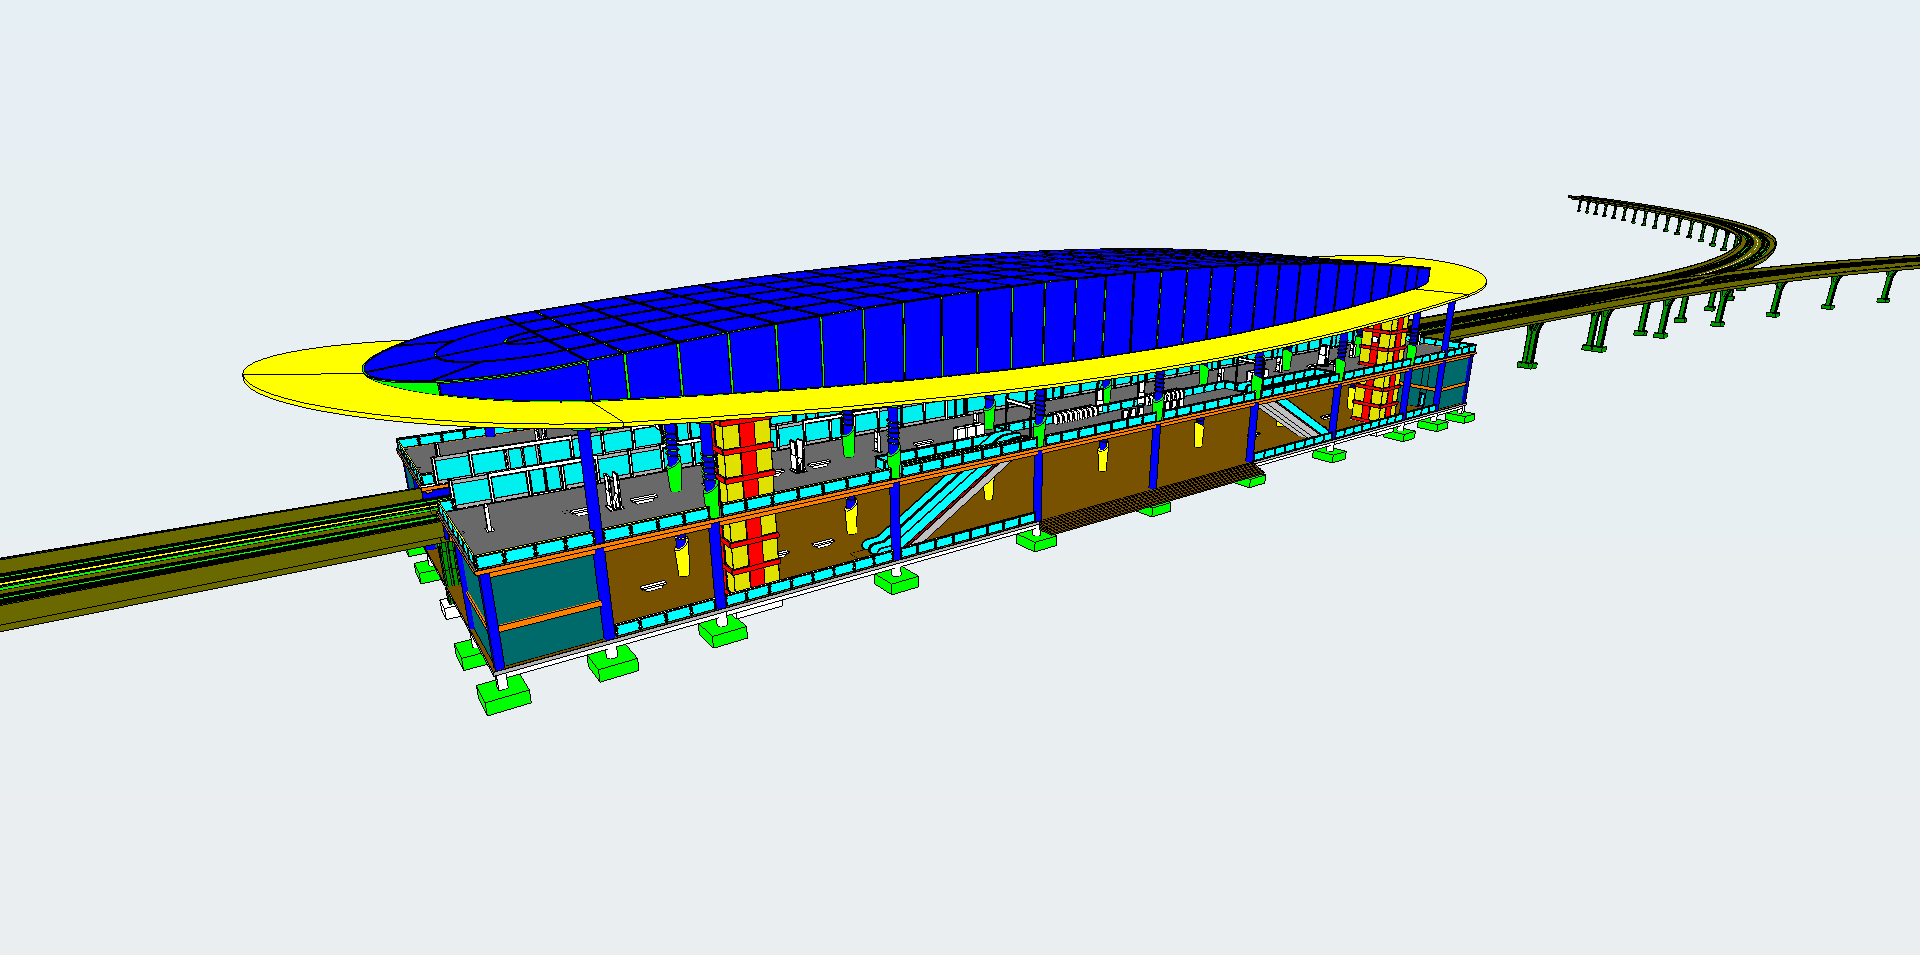
In this walk-through you will configure a transformation, run it, and wait for it to complete and then view the result.
Info
Skill level:
Intermediate
Duration:
20 minutes
Prerequisites
This tutorial assumes that you already have:
- A tool such as
Postmanthat can be used to execute HTTP calls. These calls can also be made using the Try it out button in the API documentation or any other http request tool. - A created and connected project. You can create a project by following instructions at Create a new iTwin Project.
- A source iModel with some data for the transformation. You can create an iModel from Bentley Sample by following instructions at Create an iTwin.
- An empty target iModel for the transformation. You can create an empty iModel by following instructions at Create an iTwin.
1. Register an Application
You will need to register an application to use the iTwin Platform APIs. You can use the Register button to automatically create your first single page application (SPA). This will allow you to configure Authorization Code Flow for your SPA application and get the correct access token.
Once generated, you will be shown a few lines of code under the button.
- IMJS_AUTH_CLIENT_CLIENT_ID - this is the unique identifier for your application. Displayed on application details page as Client ID.
- IMJS_AUTH_CLIENT_REDIRECT_URI - specifies where users are redirected after they have chosen whether or not to authenticate your app. Displayed on application details page as one of Redirect URIs.
- IMJS_AUTH_CLIENT_LOGOUT_URI - specifies where users can be returned to after logging out. Displayed on application details page as one of Post logout redirect URIs.
- IMJS_AUTH_CLIENT_SCOPES - list of accesses granted to the application. Displayed on application details page as Scopes.
Or optionally: Register and configure your application manually following instructions in Register and modify an Application tutorial.
Register a basic SPA App for this tutorial
Requires you to sign in. Will automatically generate a Single page application (SPA) that is required to complete this tutorial. You will be able to manage your SPA from your My apps page.
2. Get a token
To make requests to the API, a user token is needed. There are several ways to get it.
Implement Authorization Code Flow in the application
Follow this article to implement Authorization code workflow in your application.
Grab a user token from Api reference "Try it out" Section
- Go to Create Configuration
- Click "Try it out" button.
- On Authorization section select "AuthorizationCode".
- After popup closes Authorization header with your user token value should be visible.
- Save user token value for this tutorial.
3. Decide which models in source iModel to transform.
Open a source iModel and pick models that you want to group. In order to group models, you will need to specify an ECSQL query.
Easiest way to query for iModel data is by using an iModel Console web application. Open your source iModel by replacing values in this link: https://imodelconsole.bentley.com/?projectid=SOURCE_PROJECT_ID&imodelid=SOURCE_IMODEL_ID&changesetid=CHANGESET_ID
3.1 Transform parameters peculiarities:
- Each model group must have name and source query.
- Source model queries must select ECInstanceId by using
*or explicitly selecting that column. - If you want to combine all models that were left unselected, you should set groupUnselectedModels parameter to true (it is set to false by default) and specify the name in unselectedModelsGroupName parameter.
3.2 Query for all elements that sub-model Physical Partition
Run ECSQL query:
SELECT ECInstanceId, CodeValue, UserLabel from bis.PhysicalPartition.
To learn more about ECSQL follow this link.
This ECSQL query returns a list of all elements inside an iModel that can be used in transformation. To learn more about iModel internals, follow this link.
4. Create a configuration
A transformation configuration is needed to create an association between source and target iModels with some additional metadata to successfully carry out the transformation. Creating a configuration does not start the transformation process itself.
A configuration is created by sending a request to https://api.bentley.com/transformations/configurations/combinephysicalmodelsv2 endpoint with the payload describing the source and target iModel association.
These are the required properties for the endpoint:
transformName - free form text field so you could name your configuration.
sourceProjectId - source projectId.
sourceIModelId - iModelId of an iModal that is going to be used as a source of the transformation.
targetProjectId - target projectId.
targetIModelId - iModelId of an iModal that is going to be used as a target of the transformation. Initial transformation should always run on an empty target iModel.
comment - a comment of the transformation.
transformParameters - parameters that were mentioned in section 3.
You can execute the request in CombinePhysicalModelsV2 page, "Try it out" section.
After executing the request, save returned Id from the response.
Request Syntax
POST https://api.bentley.com/transformations/configurations/combinephysicalmodelsv2 HTTP/1.1Request Headers
Accept: application/json
Authorization: Bearer JWT_TOKEN
Content-Type: application/json
Request Body
{
"transformName":"Combine physical models v2",
"sourceProjectId":"SourceProjectId",
"sourceIModelId":"SourceIModelId",
"targetProjectId":"TargetProjectId",
"targetIModelId":"TargetIModelId",
"comment":"Example comment",
"transformParameters":{
  "modelGroups":[{
      "targetModelName": "Your specified name for the first group",
      "sourceModelQuery": "Your specified query (you can use example query that was shown in section 3.2)"
  },{
      "targetModelName": "Your specified name for second group",
      "sourceModelQuery": "Your specified query (you can use example query that was shown in section 3.2)"
  }],
  "groupUnselectedModels": true,
  "unselectedModelsGroupName": "Your specified name for ungrouped models"
}
}
Response Headers
Content-Type: application/jsonResponse Body
{
"configuration":{
  "transformParameters": {
    "modelGroups":[{
      "targetModelName": "Your specified name for the first group",
      "sourceModelQuery": "Your specified query (you can use example query that was shown in section 3.2)"
    },{
      "targetModelName": "Your specified name for second group",
      "sourceModelQuery": "Your specified query (you can use example query that was shown in section 3.2)"
    }],
    "groupUnselectedModels": true,
    "unselectedModelsGroupName": "Your specified name for ungrouped models"
  },
  "comment": "Example comment",
  "createdDateTime": "0000-00-00T00:00:00.0000000Z",
  "modifiedDateTime": "0000-00-00T00:00:00.0000000Z",
  "_links": {
    "sourceIModel": {
      "href": "https://api.bentley.com/imodels/00000000-0000-0000-0000-000000000000"
    },
    "targetIModel": {
      "href": "https://api.bentley.com/imodels/00000000-0000-0000-0000-000000000000"
    },
    "sourceProject": {
      "href": "https://api.bentley.com/projects/00000000-0000-0000-0000-000000000000"
    },
    "targetProject": {
      "href": "https://api.bentley.com/projects/00000000-0000-0000-0000-000000000000"
    }
  },
  "id": "00000000-0000-0000-0000-000000000000",
  "transformName": "Combine physical models v2"
}
}
5. Create a transformation
A transformation is created by sending a request to https://api.bentley.com/transformations endpoint with the payload indicating which configuration should be used. The request is submitting a transformation job based on the configuration Id value that was provided.
You can execute the request in Create transformation page, "Try it out" section.
Response indicates the current status of the transformation. After submitting a transformation the status is "Created" which means that the transformation is enqueued and waiting to start. Possible status messages:
Created - transformation is created and waiting to be started. The transformation should start automatically, no additional actions are needed.
Started - transformation is started and waiting to finish.
Succeeded - transformation succeeded. You can open target iModel and inspect the results.
Failed - transformation failed. Check the errorMessage node for more information on what happened.
After executing the request, save returned transformation Id from the response.
Request Syntax
POST https://api.bentley.com/transformations HTTP/1.1Request Headers
Accept: application/json
Authorization: Bearer JWT_TOKEN
Content-Type: application/json
Request Body
{
"configurationId":"Your saved configurationId from step number 3."
}
Response Headers
Content-Type: application/jsonResponse Body
{
"transformation": {
  "errorMessage": "",
  "processedElementCount": 0,
  "totalElementCount": 0,
  "_links": {
    "configuration": {
      "href": "https://dev-api.bentley.com/transformations/configurations/00000000-0000-0000-0000-000000000000"
    }
  },
  "id": "00000000-0000-0000-0000-000000000000",
  "status": "Created"
}
}
6. Waiting for transformation to finish
Send a GET request to https://api.bentley.com/transformations/TRANSFORMATION_ID endpoint to get an updated transformation status. You can execute the request in Get transformation page, "Try it out" section.
Query for the transformation multiple times until the status changes from Created to Started and eventually to Succeeded.
Go to My iTwins and view the target iModel.
Request Syntax
GET https://api.bentley.com/transformations/{savedTransformationId} HTTP/1.1Request Headers
Accept: application/json
Authorization: Bearer JWT_TOKEN
Content-Type: application/json
Response Headers
Content-Type: application/jsonResponse Body
{
"transformation": {
  "errorMessage": "",
  "processedElementCount": 428,
  "totalElementCount": 428,
  "startedDateTime": "0000-00-00T00:00:00.0000000Z",
  "finishedDateTime": "0000-00-00T00:00:00.0000000Z",
  "sourceChangeSetId": "0",
  "lastTargetChangesetPushed": "0",
  "_links": {
    "configuration": {
      "href": "https://dev-api.bentley.com/transformations/configurations/00000000-0000-0000-0000-000000000000"
    }
  },
  "id": "00000000-0000-0000-0000-000000000000",
  "status": "Succeeded"
}
}
7. Conclusion
We have successfully created a configuration, ran a transformation that combined models, waited for the transformation to be completed and inspected the results.
Was this page helpful?